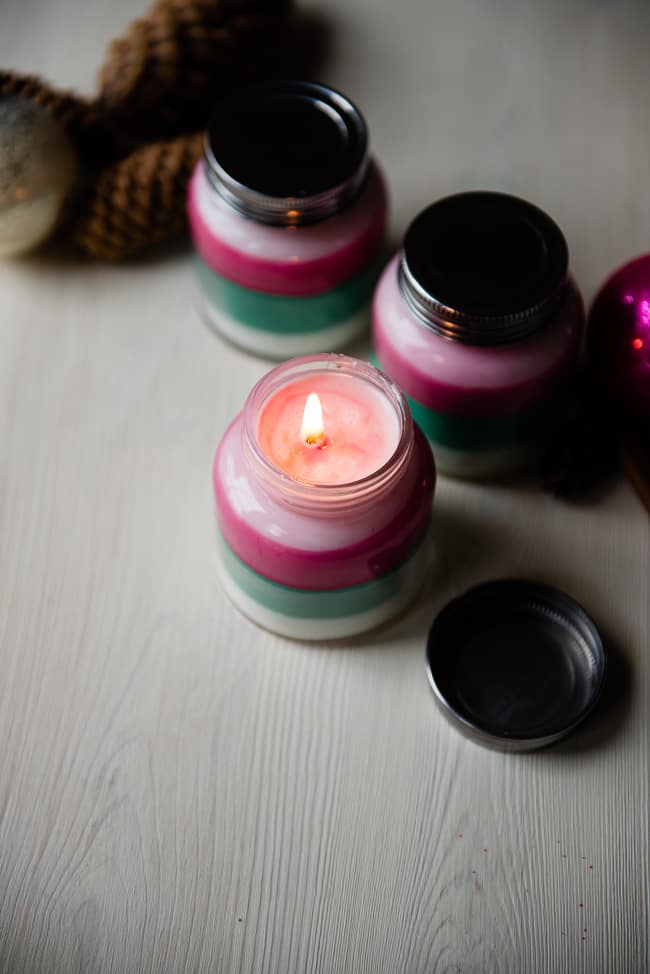
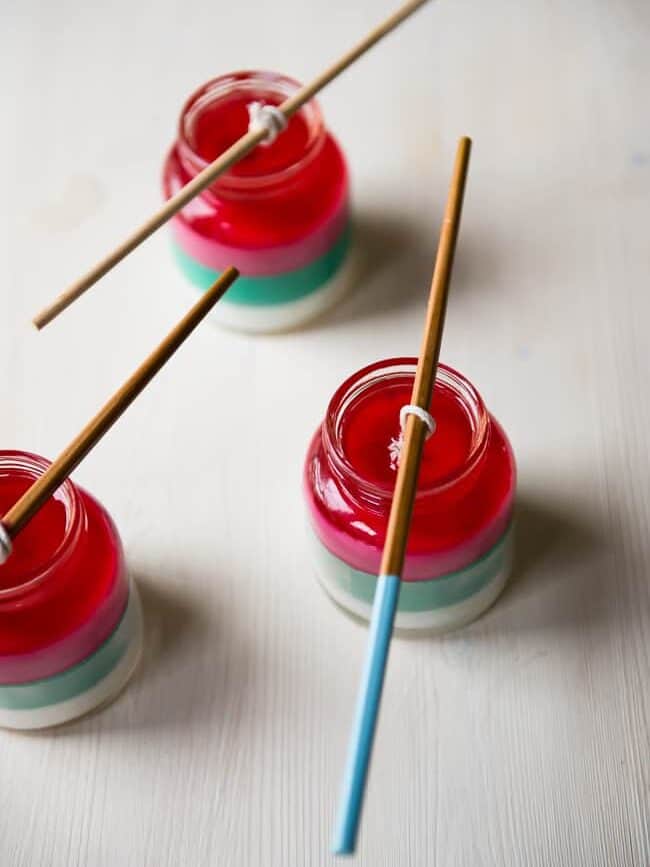
The actually wonderful thing about these DIY vacation candles is that every layer isn’t solely a special colour but additionally a special vacation scent. In order the candles burn, the scrumptious aroma of peppermint, balsam, or frankincense wafts via the air.
I am form of hooked on do-it-yourself candles. They’re a lot enjoyable to make! If you happen to’re on my vacation present listing, count on to obtain do-it-yourself candles this 12 months 😉
Soar to:
Provides wanted
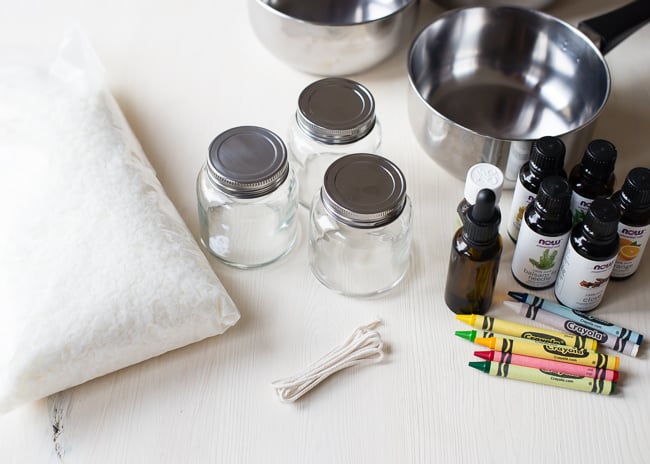
- Small glass jars (make sure they’re the type that will not break when heated)
- Soy candle wax
- Important oils
- Candle wicks
- Crayons
- Small pans
What Important Oils to Use for Vacation Candles
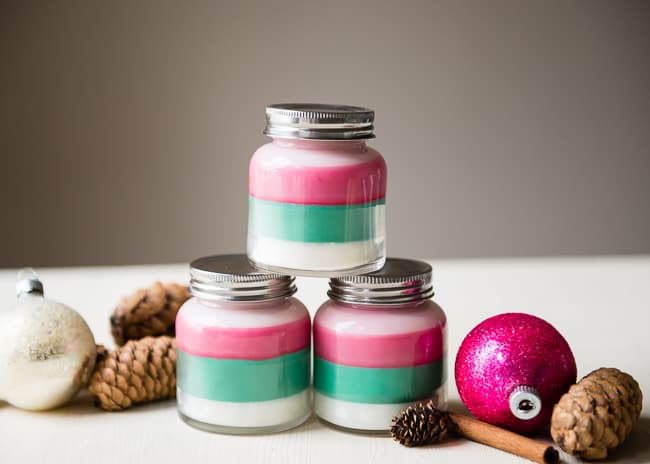
Use about 5–10 drops of important oil per colour/layer.These are the scents I used:
–white layer:vanilla
–inexperienced layer:balsam fir
–pink layer:candy orange
Word:You may also like this modelof the DIY vacation candles,with ginger and cedarwood.
How you can Make DIY Vacation Candles
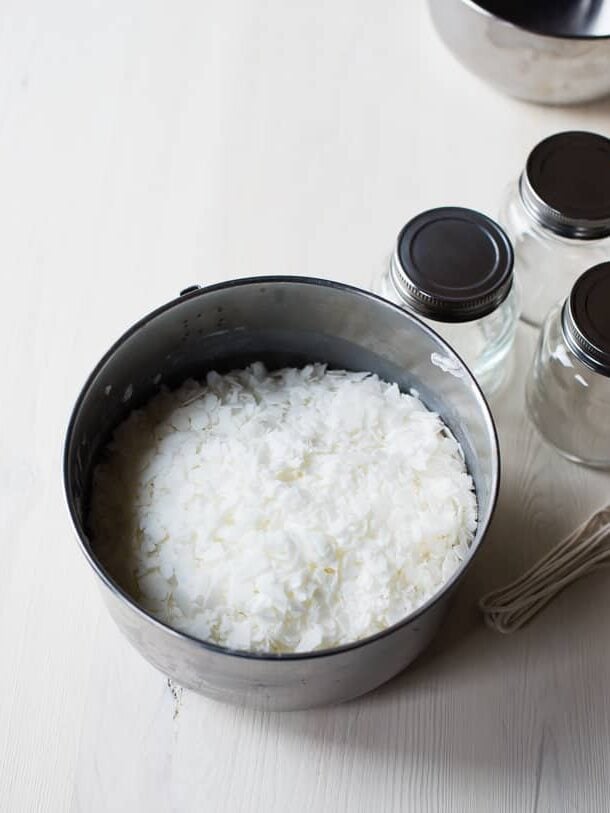
Soften the wax. Work in smaller batches as a result of every layer might want to cool fully earlier than including the following one.
I began with plain wax first for my white layer. For the opposite layers,I eliminated the papers from the crayons and broke them into small items.
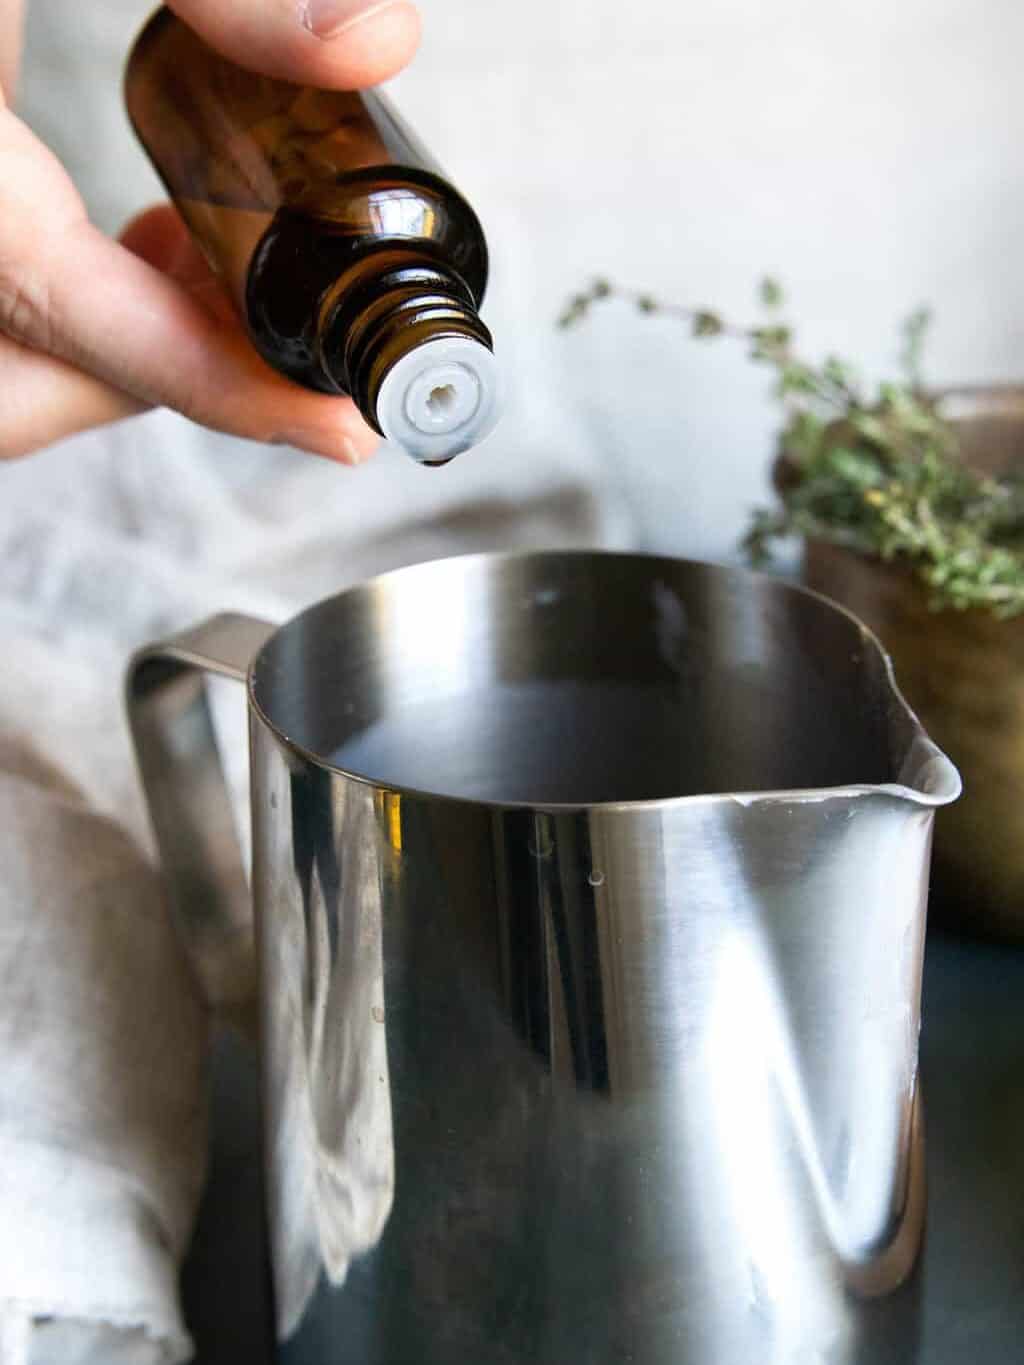
After the wax has fully melted,stir your chosen important oils into the pan with a small picket spoon or popsicle stick.
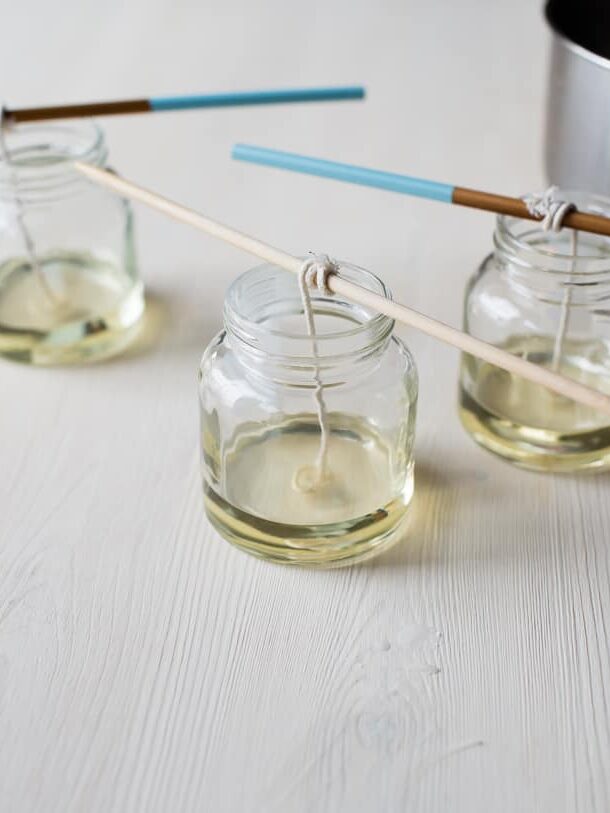
Adhere the wick to the underside of the jar utilizing a bit of melted wax. Wrap the highest round a chopstick or skewer that may be laid throughout the highest of the jar to maintain it centered.
Pour the primary layer into the jars. Let cool fully.Repeat the method with the opposite layers and smells,permitting every one to chill fully earlier than including the following.
Trim the wicks,so there may be about ½ to ¼ inch on the prime for lighting. High with the lid and retailer till prepared to make use of or give as a present!
Tip:Crayons soften in a short time. Use kind of of the totally different colour crayon items to get the specified shade.
Tip:To hurry up the cooling course of,you’ll be able to place the candles outdoors or within the fridge,however it could have an effect on the best way the wax units. For a really even layer with out effervescent or cracking,allow them to cool at room temp.

DIY Layered Scent Vacation Candles FAQs
Can you utilize beeswax pellets as a substitute of soy to make these candles?
Sure,you’ll be able to substitute beeswax for soy. Nevertheless,beeswax has a stronger pure scent than soy,so that you won’t get the identical impact with the layered scents.
Is it doable to paint the wax with out crayons if I do not have any available?
As an alternative of utilizing crayons,you’ll be able to colour the wax by reusing previous taper candles or including wax colour dye chips or particular liquid drops. Remember the fact that frequent liquid meals coloring will not work so as to add colour to candles as a result of it’s water-based,which can forestall it from mixing with the oils within the wax.
Are you able to make a candle with simply crayons?
Crayon wax isn’t the identical factor as candle wax. When used on their very own to make a candle,crayons do not soften properly with a wick. Including soy wax into the combination with the melted crayons helps to resolve this problem.
Layered Scent DIY Candle
Just some easy substances make up these cute,gift-worthy DIY vacation candles layered with vacation colours and smells.
Yield:2candles
Price:$10
Directions
Select the variety of layers you wish to create for every candle. Divide the wax evenly. I used about ¾ to 1 cup of wax flakes per layer (so about ⅓–¼ cup per layer,per jar). Take away the papers from the crayons and break into small items. Soften soy wax flakes and crayons in a pan. Slowly stir in 5–10 drops of the specified important oil with a picket spoon.
Adhere the wicks to the bottoms of the jars utilizing a bit of melted wax. Wrap the wick round a skewer or toothpick so it may be suspended to maintain it centered.
Pour the primary colour layer into the jars. Let cool fully. You possibly can velocity up the method by inserting them outdoors or in a cool place. Repeat the method with extra wax,crayons,and important oils. To maintain the brand new layer from melting the earlier layer,it’s useful to let the wax cool barely earlier than pouring into the jar.
After the final layer is poured into the jar,let the jars sit undisturbed for a number of hours or in a single day. Trim the wicks,prime with the lids,and package deal as much as give as items.
Notes
These jars are about 8 ounces every. Every layer requires about ¾ to 1 cup of wax flakes for a complete of about 3–4 cups of wax flakes. (I did have some wax left over within the pan.) When you can place these within the fridge or outdoors to chill quicker,it is best to permit every layer to fully cool at room temperature to keep away from cracking or effervescent.